
Limestone Backsplashes – Why Natural Stone Is the Next Big Thing in Kitchens
Limestone backsplashes bring soft texture and natural warmth to kitchens, and they pair beautifully with wood, brass and plaster. Limestone is porous, so sealing and care matter. Here are the advantages, design options, costs and maintenance tips to know before you choose it.
Table of Contents
Key Takeaways:
- A limestone backsplash gives a kitchen soft texture and a classic, natural look.
- Limestone handles kitchen heat well, but it is porous, so it needs sealing to resist stains.
- Finishes and colors range from creamy honed tiles to rustic tumbled stone, so it suits many styles.
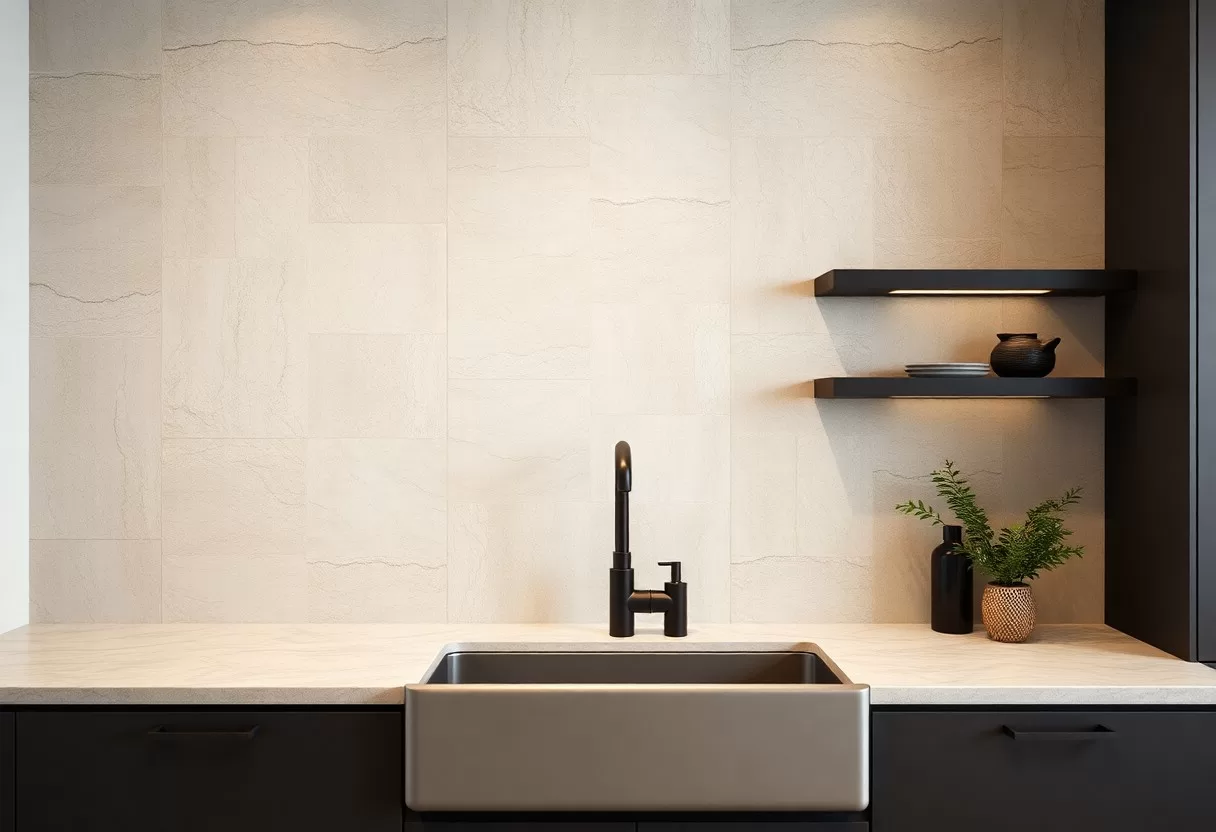
Advantages of Limestone Backsplashes
Limestone brings a mix of practicality and character that few tile materials match. Its fossil flecks, soft veining and gentle color shifts give the wall behind your range or sink a natural focal point. It copes well with the heat from cooking, and once it is sealed, it handles everyday splashes. You just need to know its weak spots: it is softer than granite and reacts to acids.
Aesthetic Appeal
A limestone backsplash has a rich, textured appearance that works with many design styles, from rustic to modern. Every tile varies a little in tone, so the wall never looks flat or mass-produced. The soft, earthy colors sit comfortably next to wood or painted cabinets and most countertops. For a calm look, pick a stone close in tone to your counter; for more contrast, go a few shades lighter or darker.
Durability and Longevity
Limestone offers exceptional durability and long-lasting beauty when you treat it right. A backsplash takes far less abuse than a floor or countertop, so the stone’s relative softness matters less there. It can chip if you knock a heavy pan against an edge, and acids like lemon juice or vinegar can etch the surface. Keep it sealed and wipe up spills, and it will look good for many years.
Looking after limestone mostly means sealing it regularly so oils and sauces don’t soak in. It is softer than granite and can scratch, but on a wall it rarely meets the knives and pots that cause damage on a counter. It handles heat from the range well. A honed or tumbled finish hides small marks better than a polished one, which makes it a forgiving choice for a busy kitchen. Treated this way, the stone ages gracefully rather than wearing out.
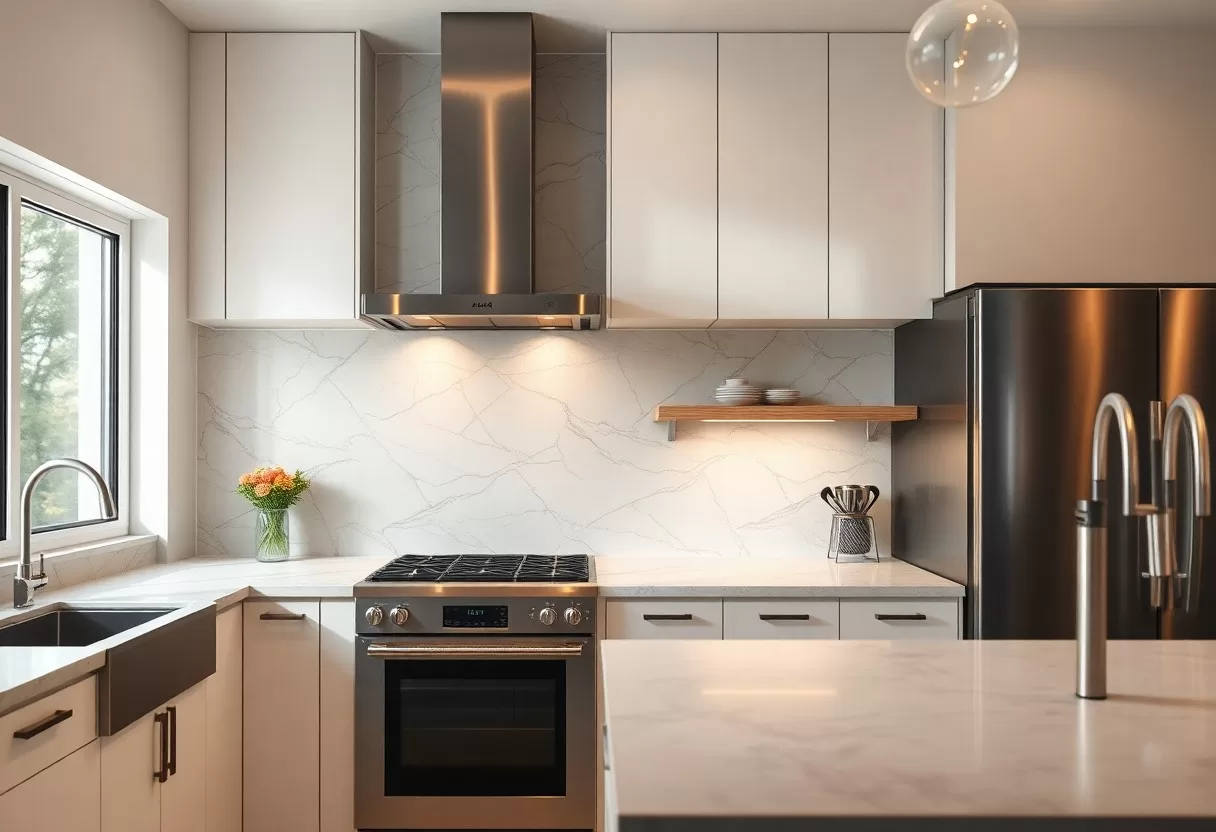
Maintenance of Limestone Surfaces
A simple routine keeps limestone looking fresh and prevents most stains and damage. That means gentle cleaning after cooking, resealing when the stone starts absorbing water, and dealing with any marks early before they set. None of it takes long, and it lets you enjoy the backsplash instead of worrying about it.
Cleaning Techniques
Clean your limestone backsplash with a soft cloth or sponge and warm water with a few drops of mild dish soap, or use a pH-neutral stone cleaner. Never use vinegar, lemon, bleach or abrasive powders, since acids etch the stone and grit scratches it. Wipe the area behind the stove after cooking so grease doesn’t build up, then dry it with a soft towel to avoid water spots.
Sealing and Care
Sealing protects the stone from stains and moisture, and some sealers also deepen its color slightly. Many homeowners reseal about once a year, and more often behind the sink or range where splashes are frequent. Rather than relying on the calendar alone, test the surface every few months to see whether the sealer is still doing its job.
Use a good-quality penetrating (impregnating) sealer made for natural stone. To test it, sprinkle a few drops of water on the tile: if the water beads up, the sealer is still working. If it darkens the stone and soaks in within a few minutes, it’s time to reseal. Clean the surface first, apply the sealer with a cloth or brush, wipe off the excess before it dries, and let it cure as the label directs.
Design Options and Inspirations
Limestone comes in more finishes and formats than many people expect. Polished stone has a soft sheen, honed stone is smooth and matte, and tumbled stone has rounded edges and an aged, Old World feel. Think about how the backsplash will relate to your cabinets, countertops and flooring. You can lay it as simple rectangles, in a herringbone pattern or as large slabs, or mix it with zellige, brick or wood for a layered look.
Color and Texture Variations
Limestone comes in earthy tones such as cream, beige, warm brown and soft gray. Natural veining, fossil marks and subtle texture changes give each tile depth. Light stone keeps a small kitchen bright, while darker gray limestone adds weight and contrast. Mixing finishes, such as honed tiles with a tumbled border, adds texture without introducing another material. Always look at several tiles from the actual batch, since color can vary from one lot to the next.
Complementary Design Styles
Limestone suits many kitchen styles. In traditional, contemporary, or farmhouse styles, its organic look provides a quiet backdrop that lets cabinets and hardware stand out. Pair it with wooden beams and open shelves for a warm, rustic feel, or with matte black or stainless accents for a modern touch. Because the stone is so neutral, you can change paint colors and hardware later without the backsplash clashing.
Here is how limestone works across a few common styles. In a traditional kitchen, beige and cream stone suits classic paneled cabinets and vintage-style fixtures. In a contemporary kitchen, a darker gray limestone gives strong contrast against white or brightly colored cabinets and sleek surfaces. In a farmhouse kitchen, tumbled limestone sits nicely next to shiplap, open shelving and butcher-block counters, adding warmth and texture. Choose the finish to match: polished or honed for clean lines, tumbled for rustic.
Cost Considerations
Several factors affect what a limestone backsplash costs. Natural stone usually costs more than ceramic or porcelain tile, and you also pay for sealer and ongoing upkeep. Installation prices depend on the size of the area, the layout you choose, the number of outlets and corners to cut around, and local labor rates. Get at least two or three written quotes from installers who have worked with natural stone before.
Budgeting for Natural Stone
Build your budget around the whole project, not just the tile price. Stone prices vary widely with grade, finish and tile size, so price a few options at a local stone yard. Then add thinset, grout, sealer, trim pieces, labor and wall prep. Order about 10 to 15 percent extra to cover cuts and breakage, and keep a few spare tiles for future repairs. A clear budget keeps you from trading quality for a cheaper look halfway through.
Value Over Time
A limestone backsplash can be a sound long-term choice. With proper care, natural stone lasts for decades, so you are unlikely to need to replace it. Its main weaknesses, staining and etching, are easy to manage with regular sealing and gentle cleaning. A well-kept stone backsplash also gives a kitchen a sense of quality that many buyers notice.
Much of limestone’s value comes from how it ages. Unlike some finishes that look tired once they wear, a honed or tumbled stone tends to develop a soft patina that many people like. Small chips and scratches blend into the natural texture, and individual tiles can be replaced if needed, so you rarely face a full redo. If you value long-lasting materials over the lowest upfront cost, limestone is worth a close look.
Installation Process
Installing a limestone backsplash takes careful planning to get a clean, finished look. Measure the area accurately, including outlets and window edges, and choose a tile size and pattern that fits with as few thin slivers as possible. The basic steps are preparing the wall, troweling on thinset, setting each tile with even spacing and checking alignment as you go. Let the thinset cure fully before grouting, then seal the stone once the grout has dried.
Professional vs. DIY
You can hire a professional or install it yourself. A tile setter with natural stone experience works faster and will handle tricky cuts around outlets and windows, which matters with a material that chips more easily than porcelain. Doing it yourself saves on labor and lets you go at your own pace. If you have tiled a backsplash before and own a wet saw, a DIY job is realistic; if not, a pro is usually the safer bet.
Tips for a Successful Installation
Good results with a limestone backsplash come from preparation and patience. Make sure the wall is clean, dry, flat and sound so the thinset bonds well. Use spacers for even grout lines, and work in small sections so the thinset doesn’t skin over before you set the tiles. Mix grout to the consistency on the package, and consider sealing the stone before grouting so grout haze is easier to clean off. Taking your time here pays off in a much better finish.
- Preparation is the key to a successful installation.
- Uniform gaps between tiles give a professional finish.
- Adhesive should be spread evenly so every tile is fully supported.
- Good-quality tile, thinset and sealer help the backsplash last longer.
Choose a setting material suited to natural stone. A white polymer-modified thinset is the usual pick for light limestone, since gray thinset can show through or stain pale stone. In humid spots, such as behind a sink, make sure the wall behind is sound and moisture-resistant. Sealing the finished surface protects it from stains and wear. These small steps make a real difference to how the backsplash looks years from now.
- Waterproof adhesive is the safer choice in humid areas.
- Sealer can protect against stains and wear.
- Quality materials contribute to an enduring installation.
- Careful work on these details pays off for years.
Renovation budget estimator
Get a quick cost range for your project, including a contingency buffer for surprises.
To wrap up
A limestone backsplash gives your kitchen natural texture and a calm, classic look. The stone’s soft colors and subtle variation create a focal point that suits many design styles, from farmhouse to contemporary. It does need more care than porcelain: seal it regularly, clean it gently and keep acids away. If you’re happy with that routine, limestone is a material that will still look good long after trends change.
FAQ
Q: What are the benefits of using limestone backsplashes in kitchens?
A: Limestone backsplashes give a kitchen a soft, natural look that suits many styles. The stone handles normal cooking heat well, and once sealed it resists splashes and is easy to wipe down. Limestone is fairly soft and porous, though, so reseal it periodically and clean it with a pH-neutral stone cleaner.
Q: How do limestone backsplashes compare to other materials?
A: Compared to ceramic or glass tiles, limestone backsplashes feel warmer and more organic, and each slab has its own pattern. The trade-off is maintenance: limestone stains and etches more easily, especially from acids like lemon juice, vinegar and some cleaners. Its environmental impact depends on where it is quarried and how far it travels, so ask your supplier.
Q: Can limestone backsplashes fit into any kitchen design?
A: Yes, limestone backsplashes suit a wide range of kitchens, from rustic to modern. Their neutral tones and natural texture blend easily with wood or painted cabinets and with most countertop materials, adding warmth and character to the room.
Preview a limestone backsplash in your kitchen with the free AI interior design generator.
Related Guides
