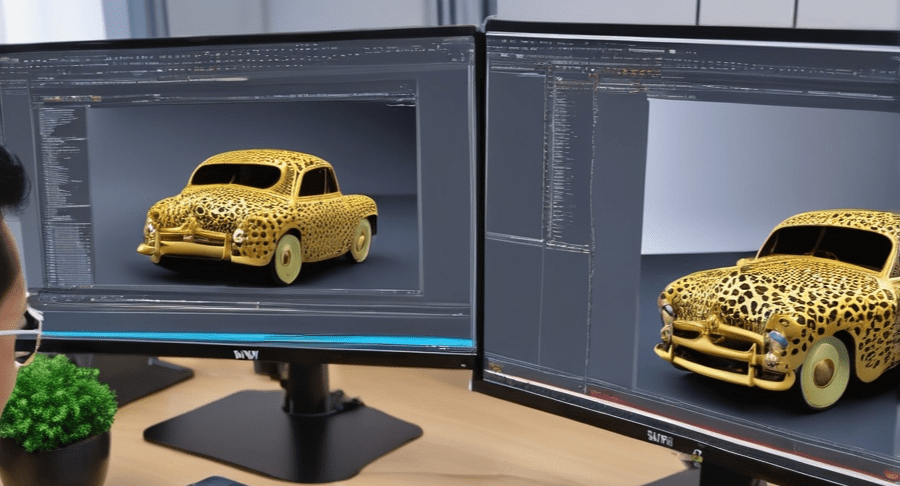
Styling 3D Models with the 3D Material Editor

When it comes to creating visually stunning and realistic 3D models, one of the most important aspects is the ability to style and customize the materials. The 3D Material Editor is a powerful tool that allows you to achieve this with ease. In this article, I will guide you through the process of styling 3D models using the 3D Material Editor.
Understanding the 3D Material Editor
Before we dive into the different functionalities and materials available in the 3D Material Editor, it is important to have a solid understanding of how it works. The 3D Material Editor is a feature-rich tool that allows you to apply materials to your 3D models. It provides a user-friendly interface that makes it easy to navigate with different settings.
One of the key features of the 3D Material Editor is the ability to create realistic materials by adjusting parameters such as color, reflectivity, transparency, UV scale, metalness and so on. You can also apply textures and patterns to add even more depth and realism to your models. The editor allows you to preview the changes in real-time, giving you instant feedback on how the materials will look in the final render.
Exploring Different Materials in the 3D Material Editor

Now that we have covered the basics of the 3D Material Editor, let’s understand the types of materials you can create and apply to your 3D models. There are two main types of materials: Standard Materials and Physically Based Rendering (PBR) Materials. Here’s a breakdown of the key differences between the two:
- Standard materials are simpler and less physically accurate compared to PBR materials.
- They are based on the traditional rendering model, where you define properties like diffuse color, specular color, shininess, and opacity.
- Standard materials are suitable for basic rendering needs and are easier to work with for simpler scenes or when precise physical accuracy is not required.
- They provide a good balance between performance and visual quality for many applications.
Physically Based Rendering (PBR) Materials:
- PBR materials are designed to simulate the behavior of light in a more physically accurate way, resulting in more realistic rendering.
- They are based on the principles of real-world physics, taking into account properties like metalness, roughness, and reflectivity.
- PBR materials produce more realistic results, especially when it comes to materials with complex surface properties like metals, glass, or rough surfaces.
- They offer greater flexibility and control over the appearance of materials, allowing for more detailed and nuanced adjustments.
Furthermore, the editor offers the ability to apply textures to your materials. Textures can add intricate details and patterns to your models, making them even more realistic. Whether it’s a wood grain texture for furniture or a scratched metal texture for a futuristic spaceship, the possibilities are endless. The 3D Material Editor provides a library of textures to choose from.
In addition to creating and applying materials, the 3D Material Editor offers other functionalities such as take snapshots, make videos, export compressed or uncompressed GLB files, copy and paste materials using CTRL+C and CTRL+V command keys and so on.
Conclusion
In conclusion, the editor provides a wide range of materials and functionalities that allow you to transform your models into realistic and visually stunning creations. By understanding the basics of the 3D Material Editor and exploring its different materials and functionalities, you can take your 3D modeling skills to the next level. Start experimenting with the 3D Material Editor today and unleash your creativity. The possibilities are endless, and the results will surely leave you amazed.
