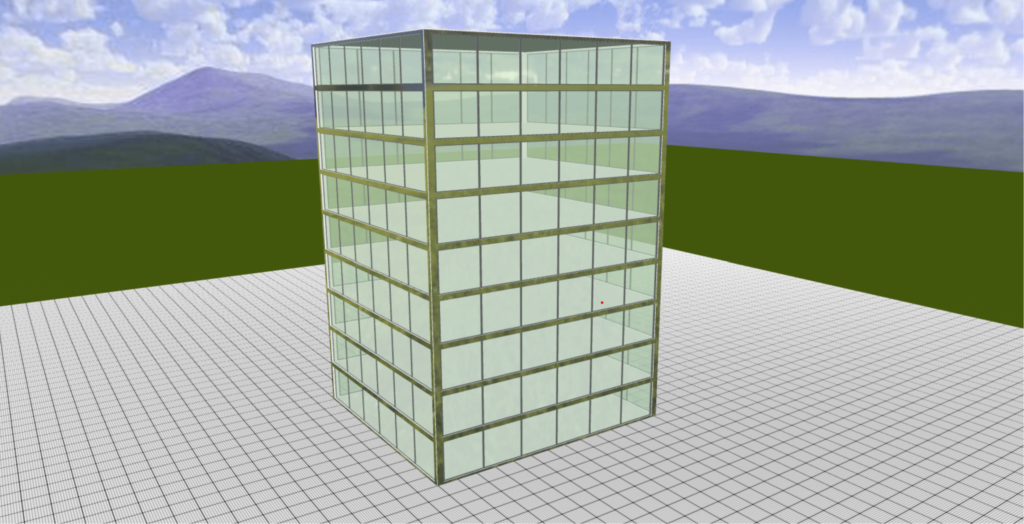
Sketch stunning buildings in minutes with the help of 3D House Planner

In the fast-paced world of design, time is the key. Imagine being able to create buildings in just a few minutes for game, movie and architecture industries. With 3D House Planner, this dream is now a reality.
Traditional methods of creating building designs can be time-consuming and may lack the flexibility needed to explore various possibilities. In this post, we will break down the steps to create a 3D building from scratch. The steps are few, so stick around because this won’t be an exhaustive reading.
Step 1: Draw the walls first and then the floors
First, I recommend getting acquainted with the tools available in 3D House Planner. You can take a look at this post to learn more.
Once you know the tools available in the APP, simply draw the walls based on your design and then create and shape the floors according to the positions of the wall edges.
Step 2: Add windows and edit the appearance of floors and walls
Once your first floor is complete, add windows on the desired areas. Use the bounding box to resize the windows that meet your needs. Define the material parameters such as color, roughness, transparency, etc… as well as textures for your walls and floors. It is important to add windows and edit the appearance first so when you copy it to other floors, everything will be transferred to other floors as well.
Step 3: Copy floors, walls and windows
Now here comes the beauty of this tool. After activating the copy switch button, clicking on the window, floor and wall checkboxes, you are able to paste it on as many floors as you wish and create a building in a matter of seconds.
Conclusion:
That’s it! It is simple and short, like I said. In the world of fast demand for design, embracing amazing app features is crucial. 3D House Planner empower designers to streamline the creative process, turning complex ideas into stunning structures in a matter of minutes.
