Speed up Blender modeling with 3D House Planner

Blender is a powerful tool for 3D modeling, but sometimes the process can be time-consuming, especially when working on complex projects like architectural visualization. However, with the help of a 3D House Planner application, you can significantly speed up your workflow and streamline the modeling process.
Another significant benefit of using a 3D house planner is the ease of use and intuitive interface it offers. Unlike the complex and sometimes overwhelming interface of Blender, 3D House planner provides a simplified workflow to sketch architectural models. With its user-friendly tools and features, you’ll be able to navigate through the software seamlessly.
In this guide, we’ll explore how to integrate a 3D House Planner with Blender to enhance efficiency and productivity.
Step 1: Using 3D House Planner to model the scene

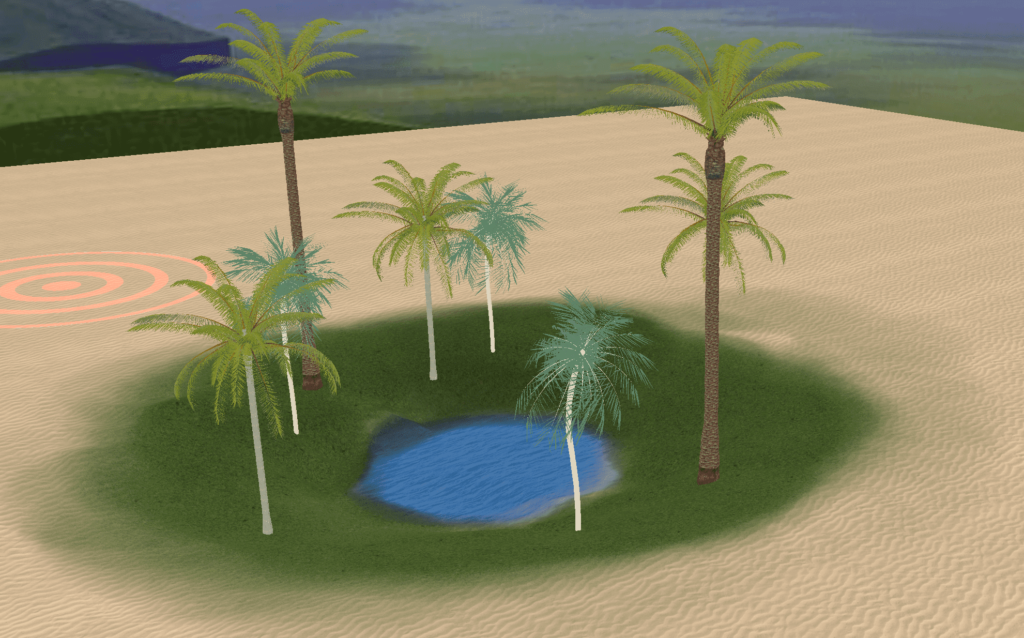
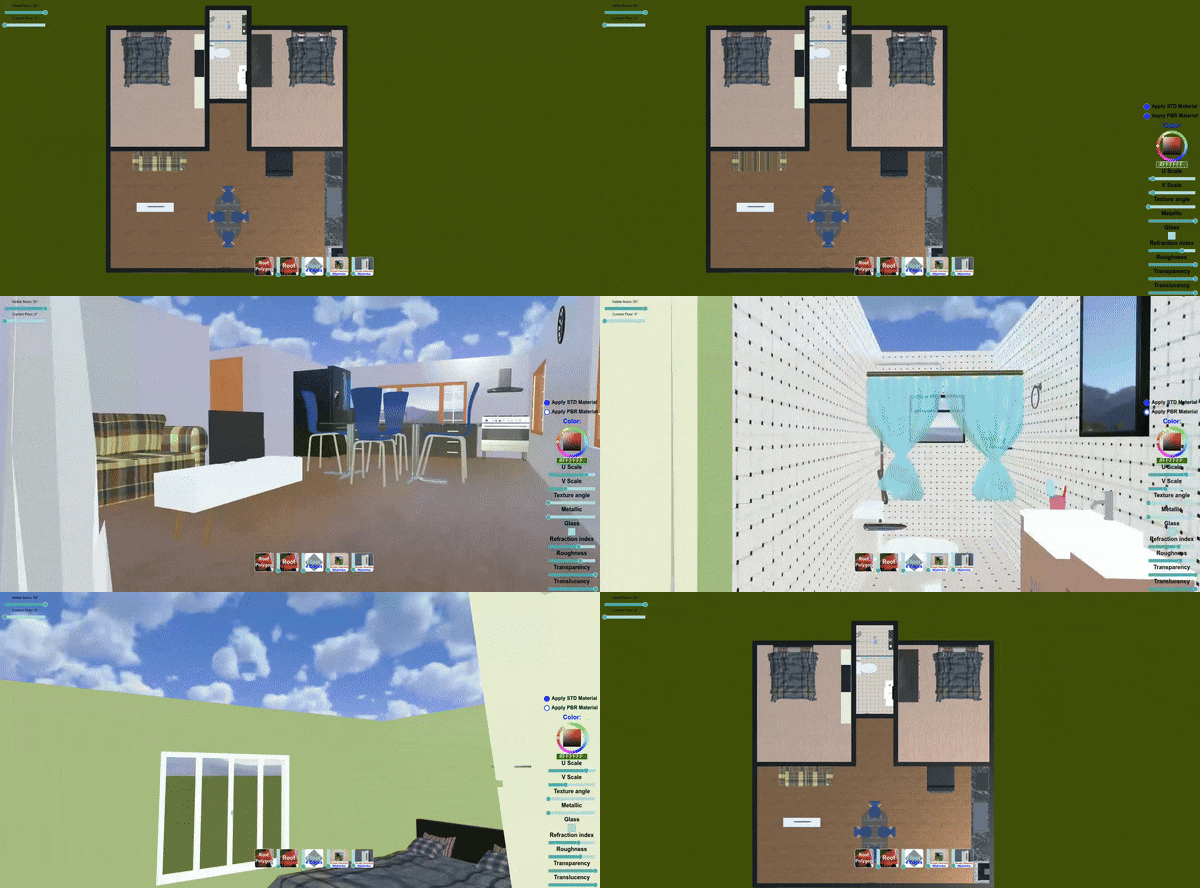
3D House Planner is the perfect tool to model terrains, to add and resize 3D objects and to design houses and buildings. Use the application’s tools to shape the terrain, add furniture, rooms, walls, doors, and windows, ensuring accuracy and precision in measurements. Instead of having to create everything from scratch in Blender, you can choose from a library of pre-designed objects, furniture, and textures, allowing you to easily assemble your architectural layout like a puzzle. This not only saves you time but also ensures consistency and accuracy in your models.
Step 2: Adding life to the scene
With the layout in place, it’s time to add details and decor to bring your design to life. Experiment with different object arrangements, material settings and textures to create a realistic environment. 3D House Planner offers a wide range of textures and decor items to choose from, allowing you to personalize the space according to your vision. Instead of spending hours manually adding textures to your models in Blender, you can rely on a simpler set of tools provided by the 3D house planner to do the heavy lifting for you.
Step 3: Exporting your scene
Once you’re satisfied with the design in the 3D House Planner application, export the compressed or uncompressed GLB model. Pay attention to scale and units to ensure seamless integration with Blender.
Step 4: Importing the scene into Blender
Open Blender and import the GLB file into your workspace. Once imported, the model should appear in Blender’s viewport, ready for further refinement.
Step 5: Refining the model in Blender
With the model imported into Blender, you can now refine it further to suit your project needs. Use Blender’s powerful modeling tools to adjust vertices, edges, and faces as needed. Fine-tune textures, materials, and lighting to enhance realism and visual appeal.
Step 6: Proceed with your work in Blender
After you’ve reached contentment with the scene, continue your tasks within Blender. Whether your ultimate objective involves incorporating animations, applying physics, or generating lifelike renders, the 3D House Planner serves as a convenient aid to accomplish these goals.
Resources and tutorials for learning Blender
If you’re new to Blender or 3D modeling in general, don’t worry! There are plenty of resources and tutorials available to help you get started.
Online Documentation and Forums: Blender.org is the official website for Blender, and it offers lots of information and resources to help you learn the software. The online documentation provides detailed explanations of every feature and tool in Blender, making it an excellent starting point for beginners. Additionally, the Blender community is incredibly active and supportive, with forums where you can ask questions and get help from experienced users.
YouTube Tutorials: YouTube is a treasure trove of Blender tutorials, ranging from beginner-friendly guides to advanced techniques. Channels like Blender Guru, CG Geek, and Tutor4u offer comprehensive video tutorials that cover various aspects of Blender and 3D modeling. Whether you’re looking to learn the basics or dive deep into specific topics like texturing or animation, YouTube tutorials are a fantastic resource.
Online Courses: If you prefer a more structured and comprehensive learning experience, online courses can be a great option. Websites like Udemy, Coursera, and Skillshare offer a wide range of Blender and 3D modeling courses, taught by industry professionals. These courses often include video lectures, assignments, and quizzes to ensure a thorough understanding of the material. Some courses even offer certificates upon completion, which can be a valuable addition to your portfolio.
Conclusion
By integrating 3D House Planner with Blender, you can significantly speed up the modeling process and create high-quality architectural visualizations with ease. Follow the steps outlined in this guide to streamline your workflow and unlock new possibilities in your 3D modeling projects. Happy modeling!
